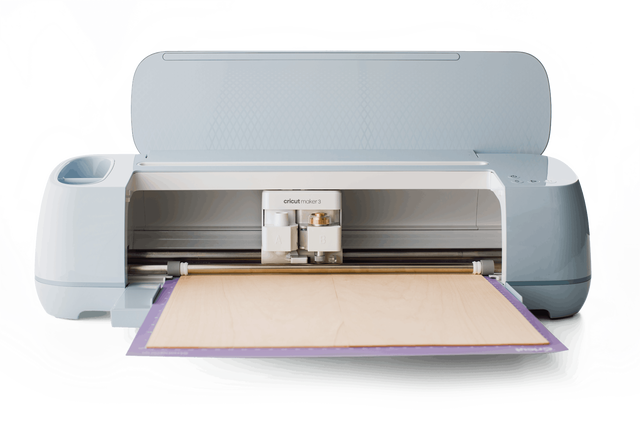
Are you a crafter looking for a cutting machine to help you craft and take it to the next level? Then, you are at the right place. You might be missing a great tool if you’re unaware of the Cricut Maker 3. This machine is the latest crafting machine, making it easier for beginners and professional crafters. It helps with writing, scoring, and cutting more than 300 materials, including paper, vinyl, HTV, cardstock, etc.
Wondering about the best features and how to use them for your DIY projects? Read on to find out.
Cricut Maker 3 Features and Accessories
This cutting machine comes with cutting-edge features and tools made for creative excellence.
Features
- It works with 300 materials, including popular ones like vinyl, iron-on cardstock, leather mat board, and more.
- This machine is also compatible with Smart Materials, can be used with 13 kinds of blades, and has 10 times more cutting power than its previous model.
- It can cut, write, draw, engrave, emboss, etc., and do so precisely.
- This machine can be used with the Design Space app, which you can use to create your open design or choose a design from the library.
- It comes with Bluetooth wireless technology.
Accessories
- Cricut machine
- Fine-point blade + housing
- Welcome card
- USB cable
- Power adapter
- Trial subscription and some materials for cutting practice.
One hundred free pre-designed projects in the companion app. Now, let’s move on to the next step, which is to use this machine to create your first project.
How to Use Cricut Maker 3 for Making a Project?
Now, you know its features and what comes inside the box. It’s time to read further and understand how to use the machine to make a DIY shirt with it. Follow the below instructions to make it:
Step 1: Create a Design
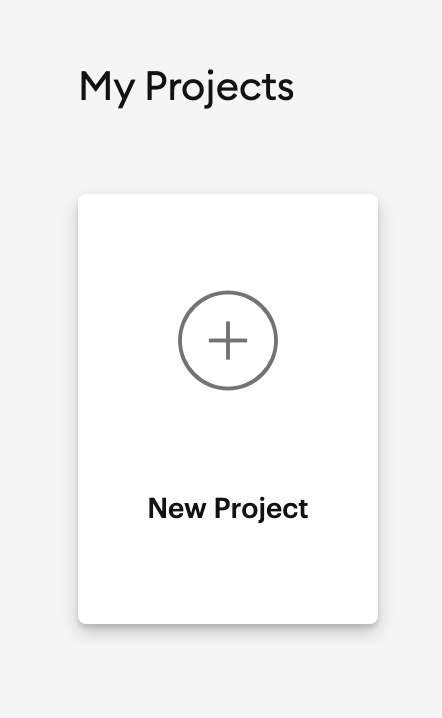
First, you will have to start from scratch. In the Cricut Design Space app, click New Project, add text, and choose a font. When you select the design and fonts, click on the Mirror option. After that, you can even upload your image by clicking the “Upload a new file” option. When you click on the mat, select your SVG file from the computer and then upload it.
Step 2: Edit Your Design
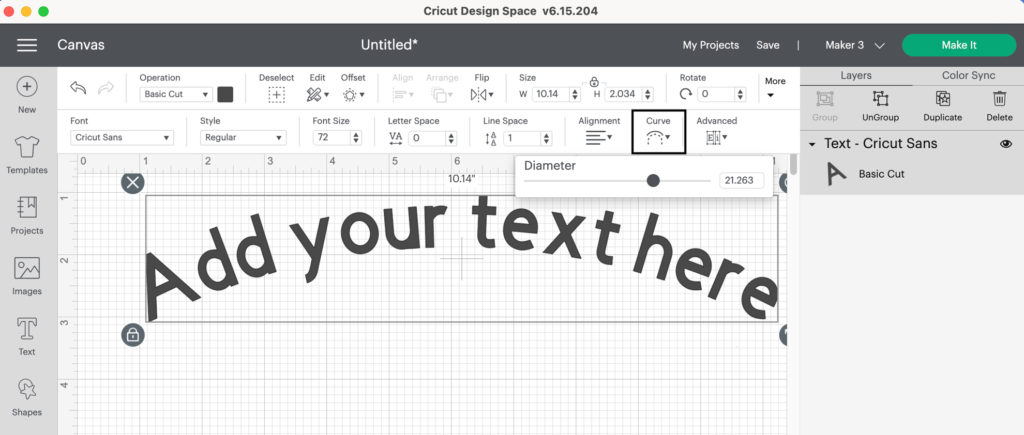
After you upload the file, you will see it on the grid screen. Then, you can edit and change the size and shape of your image.
Step 3: Load the Mat
When you are done editing your design, click the green Make It button. A cutting mat window will appear on your screen, and you can see parts of the design that need to be in order. Now, you must click on the Attach option for all the files, and they will appear in order on the mat. Afterward, load the mat into the cutting machine, wait for the light to blink, and hit the Go button.
Step 4: Select a Material
Next, you need to choose a material you use for the shirt design. For this project, you need to select Iron Everyday On from the materials list.
Step 5: Cutting the Design
Now, you must attach the iron-on and slide them into the machine track. Then, you must load your mat to cut with the crafting machine. Click on the Play button on the machine, and your Cricut Maker 3 machine will start the cutting process.
Step 6: Remove the Design
After cutting is done, you should unload the mat and remove the extra part from your design which is not needed. To remove the extra part, you can use a weeding tool.
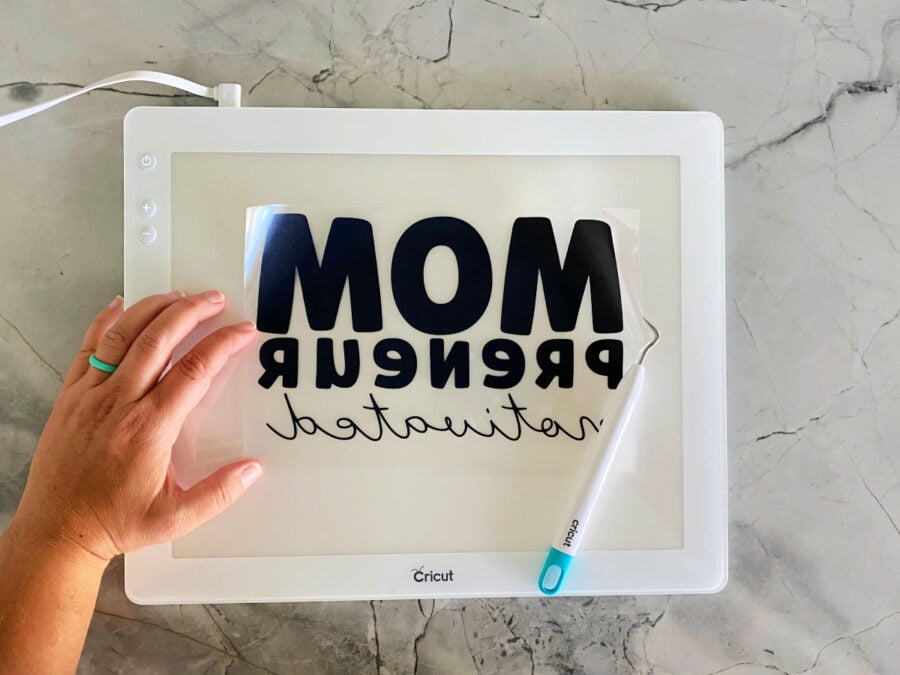
Step 7: Apply the Design
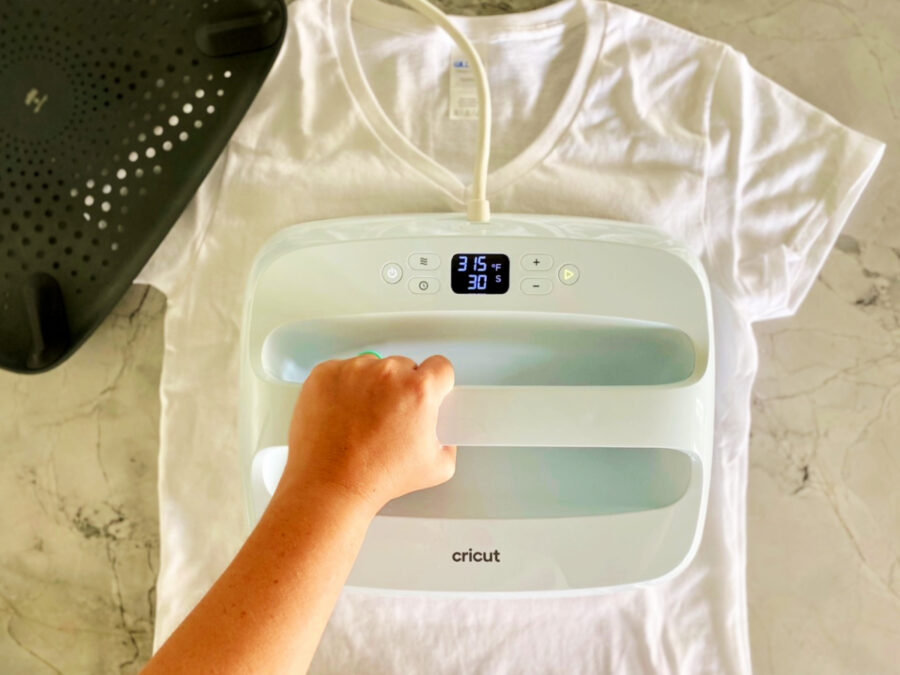
Preheat the t-shirt for 10-15 seconds when you plan to put your design on a t-shirt. After that, place the cut design on the shirt with the shiny side up and the sticky side downwards. Cut a piece of transfer paper and put it above the design. Now, use your press to apply heat and transfer the design to your shirt. Let the design cool, and remove the transfer sheet from your shirt.
Tips for Designing Your Shirt
- You can create your design using the Cricut Design Space app or by selecting a premade option from the library.
- Mirror the design in the application to ensure it appears correctly on the base material when using iron-on materials.
Summary
In conclusion, Cricut Maker 3 is the latest and greatest in home crafting machines, which makes it an easier event for beginners to get started. It has the ability to cut through all the materials with thickness, and this machine can handle everything from delicate fabrics to thicker items like vinyl and leather.
Use this machine’s ultimate cutting features to improve your crafting projects to new heights of creativity.
Frequently Asked Questions (FAQs)
What kind of projects can you make with Cricut Maker 3?
This machine can be used to make a wide range of projects, and it has a collection of different tools that can be used to create multiple projects. Here is the list of a few projects, including:
- T-shirts
- Stickers
- Cards
- Labels
- Gift tags
- Decals
- Mugs
Does Cricut Maker 3 have Print Then Cut feature?
Yes, the Cricut Maker 3 has a Print Then Cut feature, which is a powerful tool for creating exceptional prints. With this feature, anyone can make glossy prints and use them to make stickers, bookmarks, and greeting cards. However, you need an inkjet printer to use this feature. This feature allows you to print all compatible materials, such as colored paper, cardstock, etc.
How to Engrave Metal with Cricut Maker 3?
This machine has an engraving tip that can be used to engrave on metals and any soft metals. It can be engraved on different materials, including faux leather, aluminum sheets, thin metals, and many more. The machine can easily engrave materials that are 2mm or thinner.